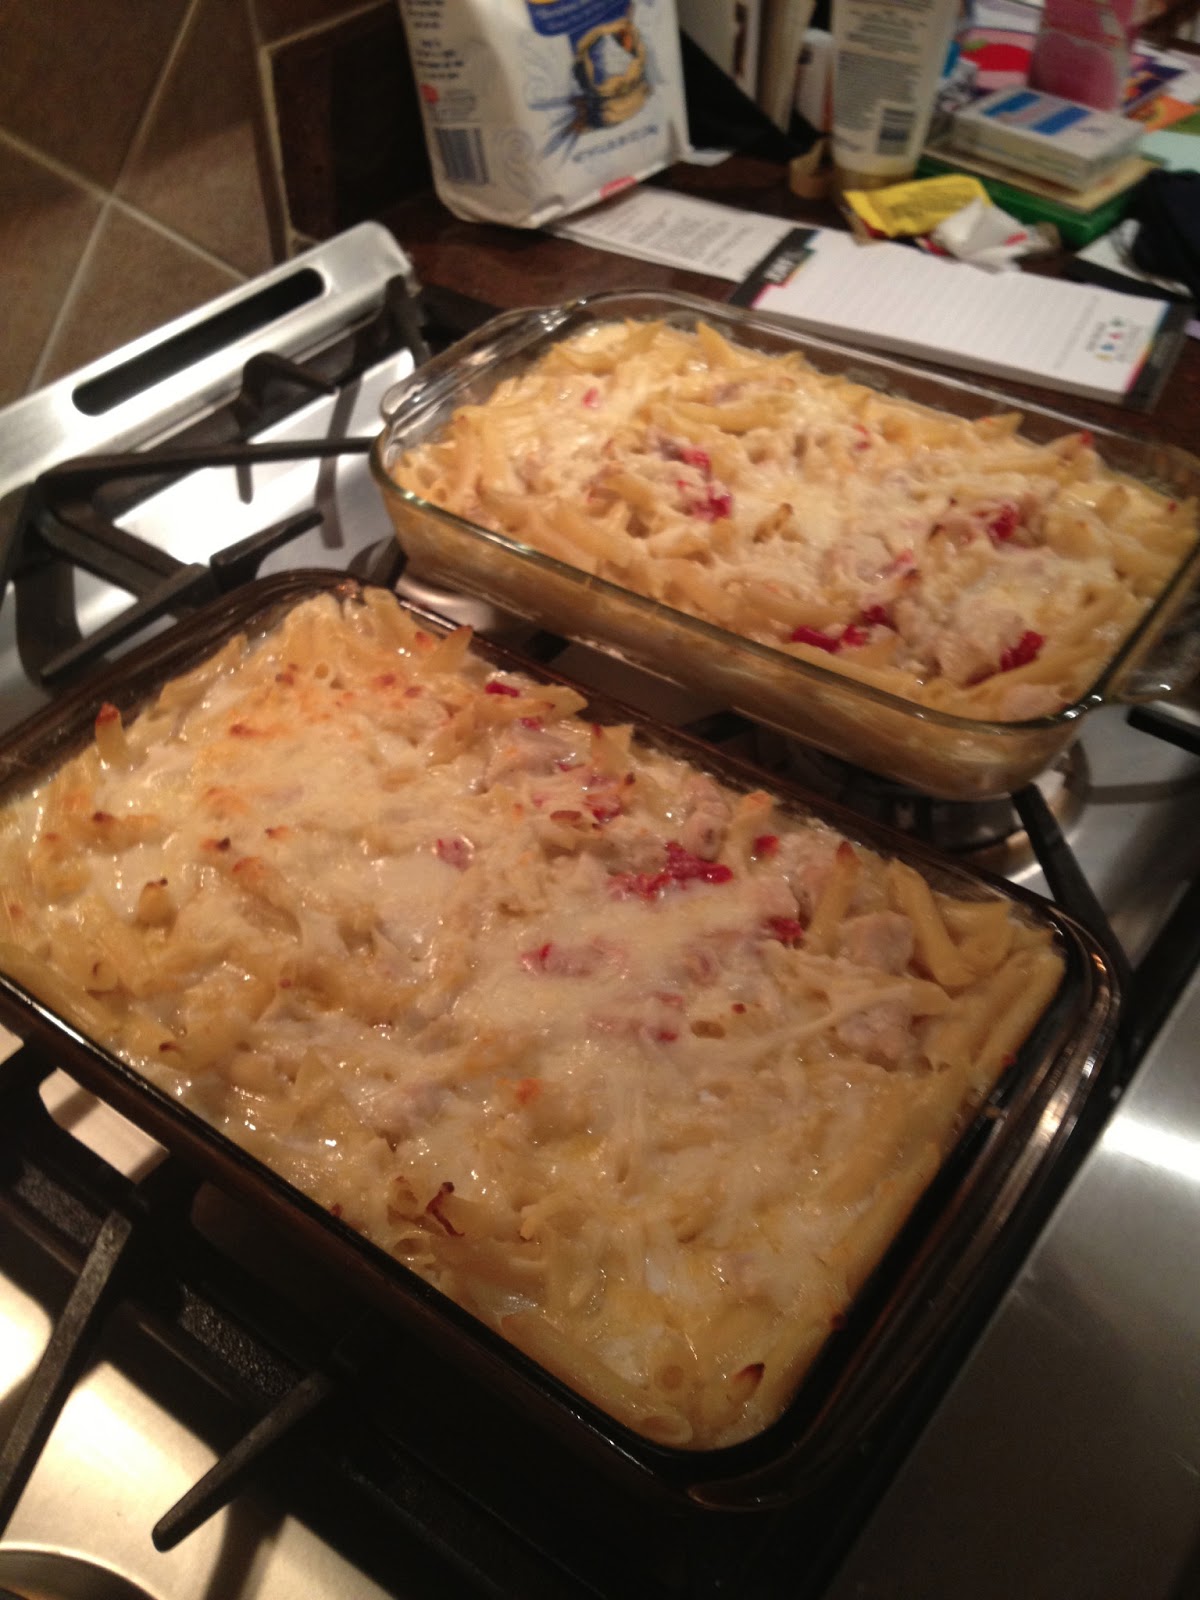
This recipe was one I was quite hesitant on making. It seems so complicated and calls for more ingredients than I usually shoot for. Not to mention my family is super picky when it comes to Pasta. I decided to give it a shot, and have already made it twice. It is twice as good as a leftover, and can be made and frozen before baking. I promise you will not regret making it. Just a heads up, it makes a TON of pasta. I needed 2 nine by thirteen pans in order to hold it all! :) But like I said it tastes great re-heated in the microwave!

Ingredients
-6 tablespoons of butter
-Salt & Pepper
-1 box of Penne Rigate (I used a 14.5 oz box of Ronzoni Smart Taste Penne Rigate)
-1 teaspoon Olive Oil
-2 boneless, skinless chicken breasts (cut into small cubes)
-1/2 cup plus 2 tablespoons flour
-6 cups whole milk
-6 cloves of finely minced garlic
-1 cup sliced oil-packed sun-dried tomatoes
-1 1/2 cups shredded Provolone Cheese (I used a full ba of the Italian blend)
-1 1/2 cups shredded Parmesan
Directions
1. Preheat oven to 400. Spray two 9x13 baking dishes with Pam.
2. In a large pot of boiling salted water, cook pasta 3 minutes short of al dente; drain pasta and set aside.
3. While pasta is boiling, heat oil over medium-high heat in a large skillet. Season chicken with salt and pepper; cook until opaque throughout, about 5 minutes.
4. In a very large pan, melt butter over medium. Add flour and garlic; cook, whisking, 1 minute. While whisking constantly, gradually add milk; bring to a simmer. Keep whisking frequently as sauce thickens, about 1 minute more.
5. Add tomatoes; cook 1 minute. Take the pan off the heat and and gradually stir in provolone and 1/2 cup Parmesan.
6. Add chicken and pasta to pot; season with salt and pepper to taste. Divide pasta mixture between baking dishes. If freezing, place remaining parmesan cheese in a zip-top baggie. If cooking, sprinkle on top.
7. Bake, uncovered, until top is golden and bubbling, about 25 minutes. Let stand 5 minutes before serving. Enjoy!!!
Original Recipe
Baked Cheesy Chicken Penne
Ingredients
-6 tablespoons of butter
-Salt & Pepper
-1 box of Penne Rigate (I used a 14.5 oz box of Ronzoni Smart Taste Penne Rigate)
-1 teaspoon Olive Oil
-2 boneless, skinless chicken breasts (cut into small cubes)
-1/2 cup plus 2 tablespoons flour
-6 cups whole milk
-6 cloves of finely minced garlic
-1 cup sliced oil-packed sun-dried tomatoes
-1 1/2 cups shredded Provolone Cheese (I used a full ba of the Italian blend)
-1 1/2 cups shredded Parmesan
Directions
1. Preheat oven to 400. Spray two 9x13 baking dishes with Pam.
2. In a large pot of boiling salted water, cook pasta 3 minutes short of al dente; drain pasta and set aside.
3. While pasta is boiling, heat oil over medium-high heat in a large skillet. Season chicken with salt and pepper; cook until opaque throughout, about 5 minutes.
4. In a very large pan, melt butter over medium. Add flour and garlic; cook, whisking, 1 minute. While whisking constantly, gradually add milk; bring to a simmer. Keep whisking frequently as sauce thickens, about 1 minute more.
5. Add tomatoes; cook 1 minute. Take the pan off the heat and and gradually stir in provolone and 1/2 cup Parmesan.
6. Add chicken and pasta to pot; season with salt and pepper to taste. Divide pasta mixture between baking dishes. If freezing, place remaining parmesan cheese in a zip-top baggie. If cooking, sprinkle on top.
7. Bake, uncovered, until top is golden and bubbling, about 25 minutes. Let stand 5 minutes before serving. Enjoy!!!
Original Recipe
Comments
Post a Comment